How to Create Feature Flags
Feature flags are the core building block of Featureflip. This guide walks you through creating, configuring, and managing flags from the web dashboard.
Creating a flag
Section titled “Creating a flag”- Navigate to your project’s Flags page at
/flags. - Click Create Flag in the top right.
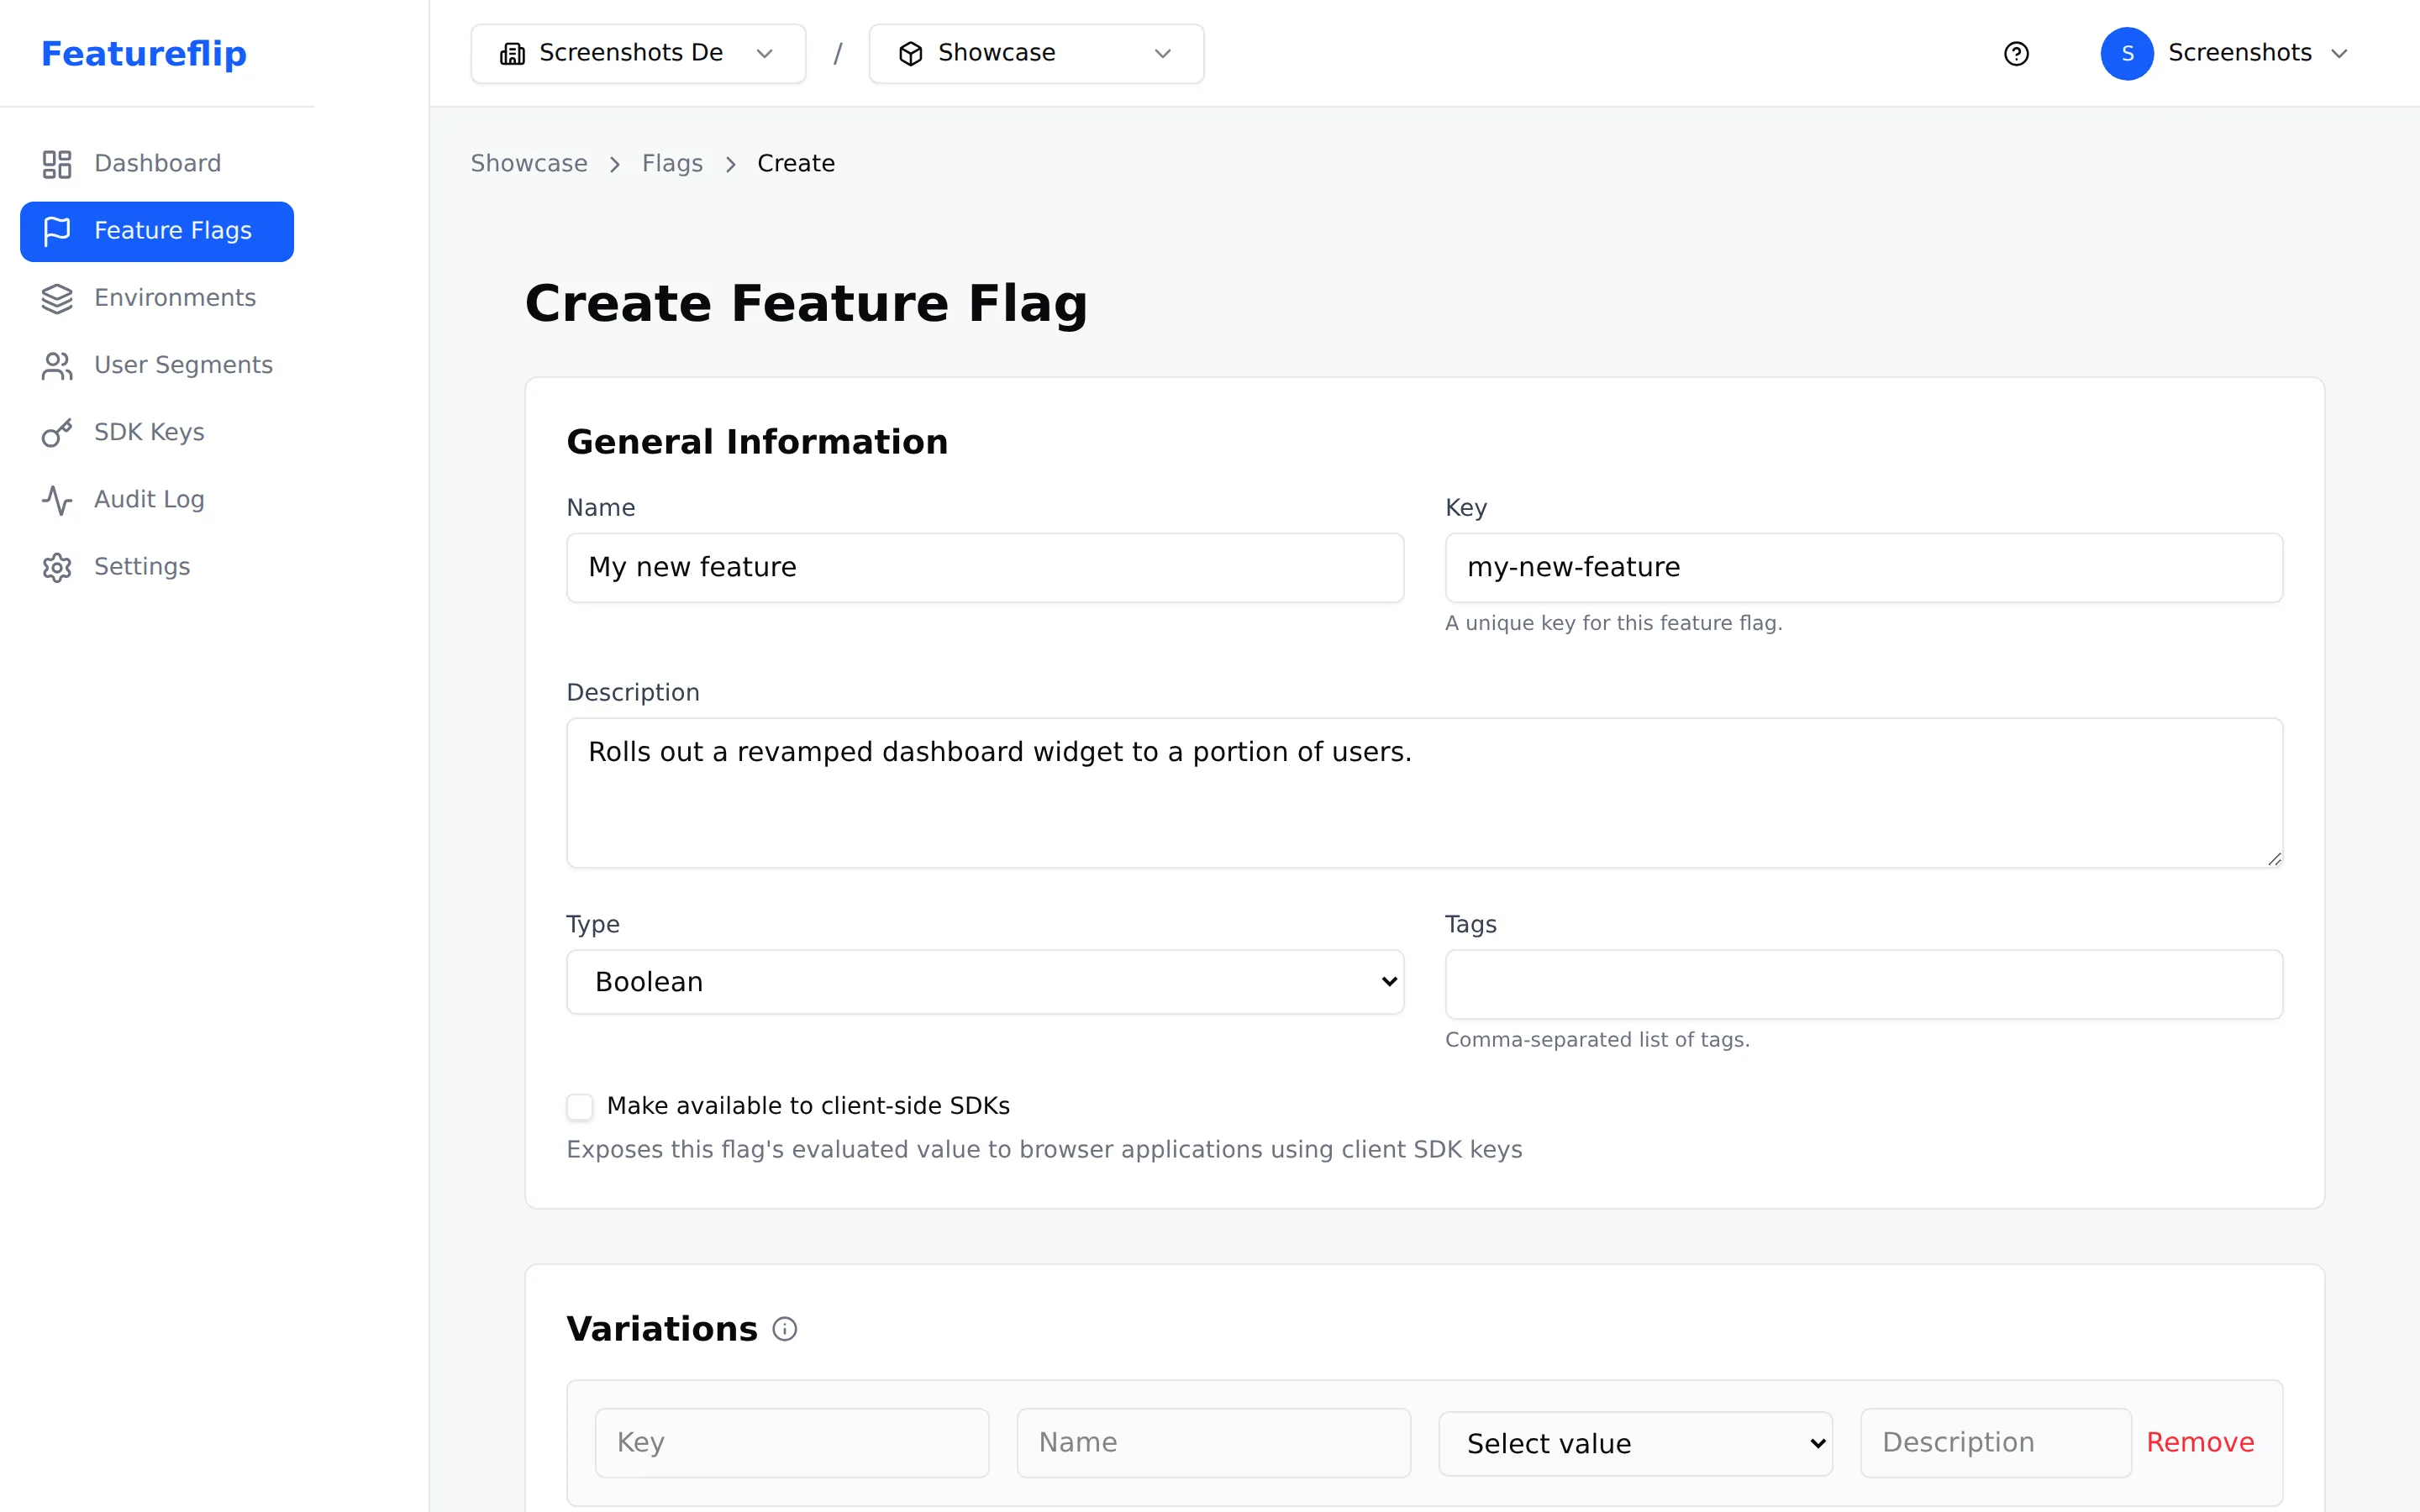
- Fill in the flag details:
- Name — A human-readable label (e.g., “New Checkout Flow”).
- Key — Auto-generated from the name (e.g.,
new-checkout-flow). This is what you reference in code. You can edit it before saving. - Flag type — Choose from Boolean, String, Number, or JSON.
- Description (optional) — Explain what this flag controls and why it exists.
- Tags (optional) — Add tags to organize and filter flags (e.g.,
frontend,experiment,checkout).
- Click Create to save the flag.
Default variations
Section titled “Default variations”When you create a flag, default variations are set up based on the type:
- Boolean flags get
trueandfalsevariations automatically. - String, Number, and JSON flags start with placeholder variations that you customize on the flag detail page.
Adding variations
Section titled “Adding variations”For non-boolean flags, you can add more variations from the flag detail page:
- Open the flag by clicking its name on the Flags page.
- Scroll to the Variations section.
- Click Add Variation.
- Enter a key (used internally) and a value (what gets returned to your application).
- Save your changes.
Toggling a flag
Section titled “Toggling a flag”Each flag can be toggled on or off independently per environment:
- Open the flag detail page at
/flags/:flagId. - Select the environment tab (e.g., Development, Staging, Production).
- Use the toggle to turn the flag on or off.
When a flag is off, the off variation is served to all users regardless of targeting rules. When a flag is on, targeting rules and the fallthrough variation determine what each user receives.
Archiving and restoring
Section titled “Archiving and restoring”Archive flags you no longer need instead of deleting them immediately:
- Open the flag detail page or select flags from the list.
- Click Archive. The flag stops being evaluated but is not permanently removed.
- To bring it back, find the flag in the archived list and click Restore.
- Delete a flag permanently only when you are certain it will never be needed again.
Because archived flags are no longer evaluated, archive a flag only after you have removed its references from your application code. A flag cannot be archived while other active flags use it as a prerequisite, and cannot be deleted while any flag still references it as a prerequisite — remove those prerequisites first. Archiving a dependency chain in one bulk operation works, as long as every dependent flag is included in the selection. Restoring follows the same rule in reverse: a flag whose prerequisites are still archived cannot be restored until those prerequisites are restored.
Bulk operations
Section titled “Bulk operations”Select multiple flags from the Flags list to perform actions in bulk:
- Archive — Remove several flags from active evaluation at once.
- Restore — Bring back multiple archived flags.
- Delete — Permanently remove selected flags.
- Update tags — Add or remove tags across multiple flags.
Check the boxes next to the flags you want, then use the bulk action toolbar that appears.
Best practices
Section titled “Best practices”- Use descriptive names. Anyone on your team should understand what a flag controls from its name alone.
- Prefix keys with the feature area. For example,
checkout-new-floworbilling-annual-discount. This makes keys easier to find in code. - Add descriptions. Document why a flag exists and when it should be removed.
- Tag consistently. Agree on a tagging convention with your team (e.g., by team, by feature area, or by lifecycle stage).
- Clean up old flags. Archive flags once a feature is fully rolled out. Stale flags add confusion and technical debt.
- Review flags regularly. Schedule periodic reviews to identify flags that are no longer needed.
Next steps
Section titled “Next steps”- What Are Feature Flags? — understand flag types, variations, and lifecycle
- How to Set Up Targeting Rules — control who sees which variation
- How to Set Prerequisite Flags — gate one flag on another before its rules run
- How to Manage Environments — configure flags per environment
- SDK Overview — integrate flags in your application code